Creating content policies in Siteimprove
As a department changes name or colleagues leave the university, you may find yourself asking: how do I search my entire website to make this change? Using Siteimprove's policy library makes it easy!
For example, you can make policies that:
- Find all images on your site that are older than a certain timeframe to make sure campus and technology are up to date
- Find every instance of a former office name to check whether it’s been updated fully
- Look for a specific HTML tag on your website to remove old code that doesn’t meet best practice
Accessing the policy library
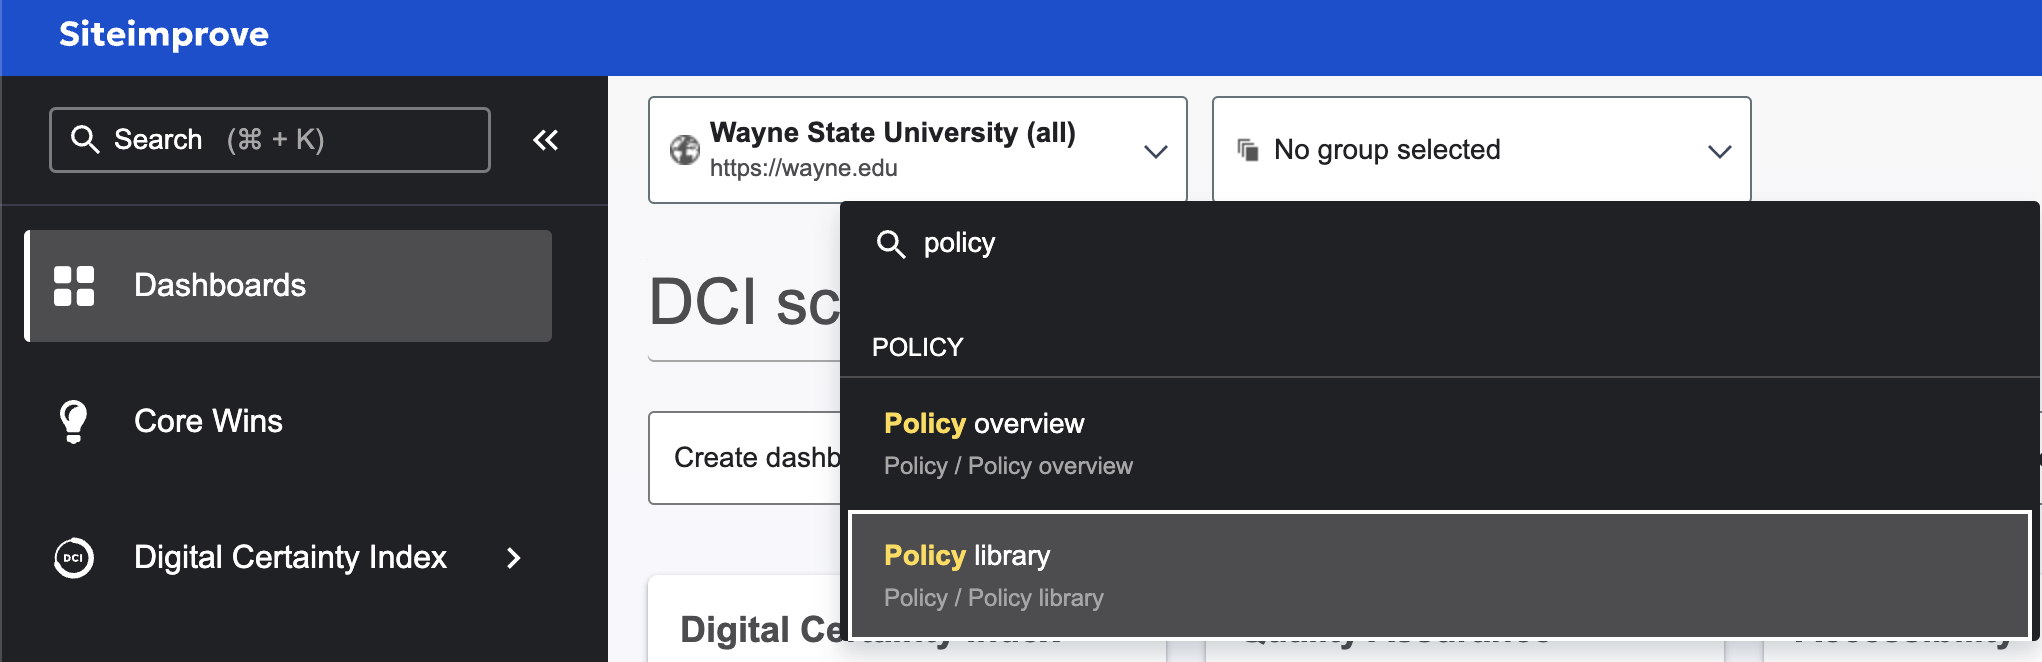
- Log into Siteimprove
- Navigate to the search bar on the top-left side of the menu
- Search "Policy" in the search bar on the top left corner and select "Policy Library"
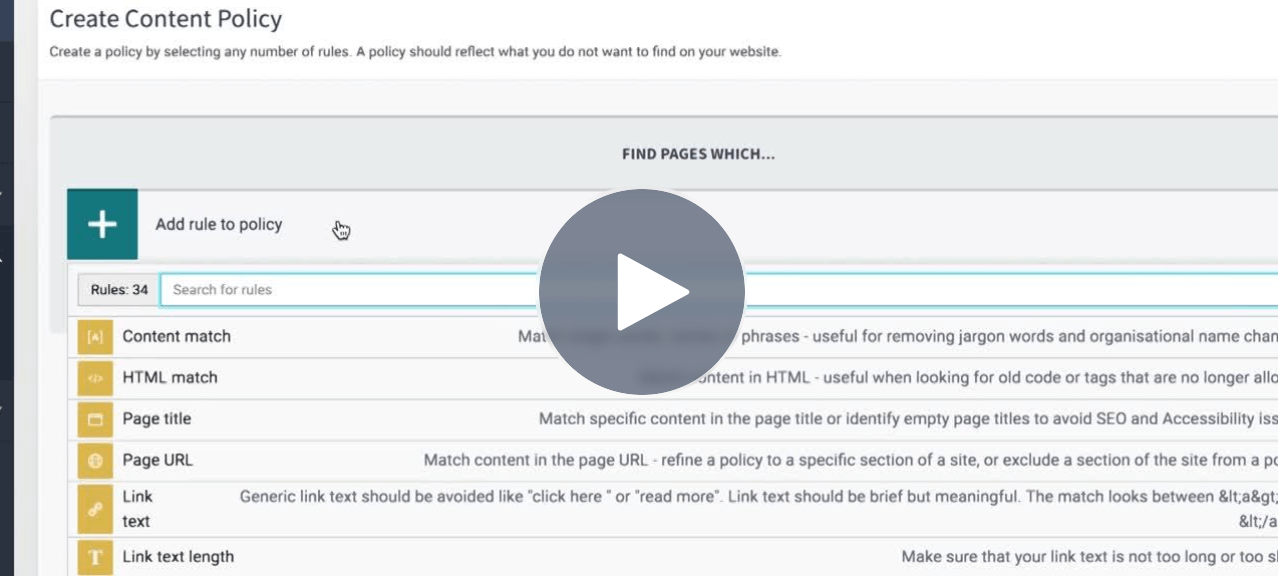
Creating a policy
There are many options when creating a policy. The most commonly used one is a content match. The video below from Siteimprove outlines how to create a policy.
Examples of content policies
Below are some examples of policies created in our policy library
- Finding 2023-24 or other variations of a previous year to switch to the current term
- Someone changing their name
- A role promotion or change
- Address/zip code correction
- S/C/D name change
- Statistical change (e.g. finding occurrences of 10 years to change to 15 years)